How to Compress Images Fast (and Save a Lot of File Size)
Learn how to compress images fast and save 30–80% file size with the right format, resizing, and quality settings—plus a simple workflow using Pageonaut’s local, no-upload Image Compressor.
How to Compress Images Fast (and Save a Lot of File Size)
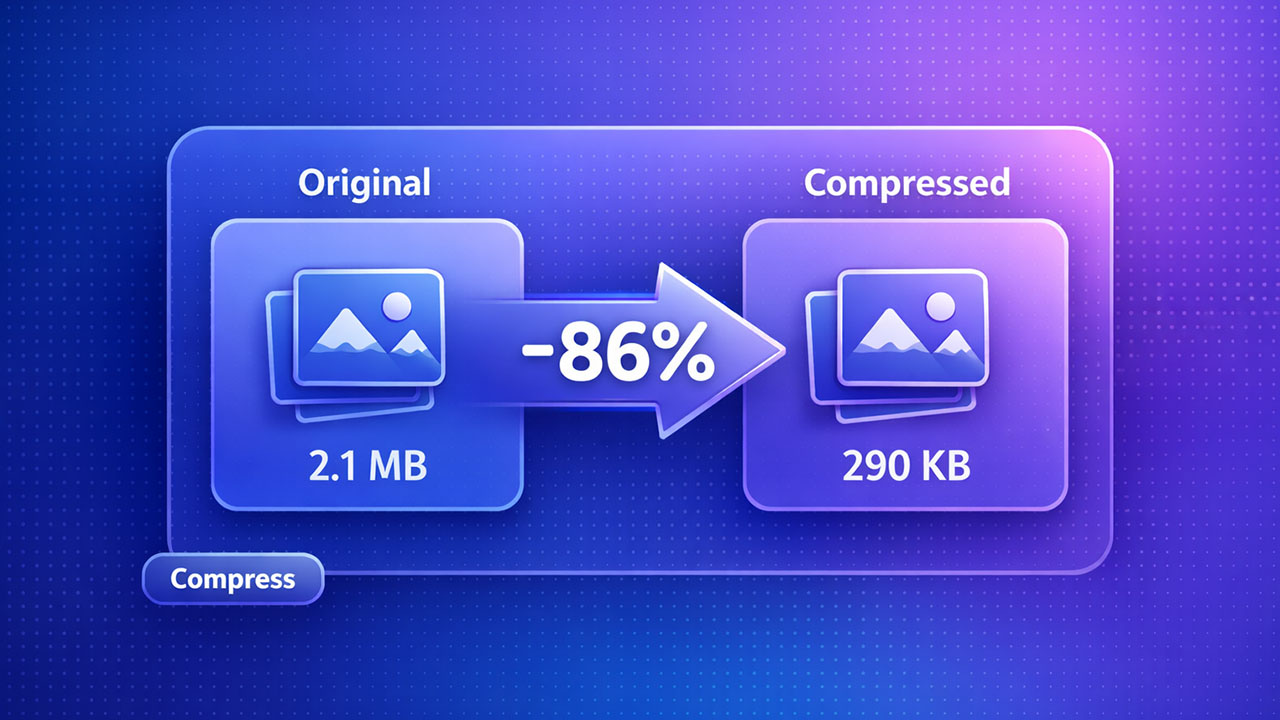
If your website feels slow, your emails bounce, or your uploads take forever, oversized images are usually the culprit. The good news: you can often cut image size by 30-80% in minutes without noticeably hurting quality by using the right format, the right dimensions, and sensible compression settings.
This guide shows a simple, repeatable workflow to compress images quickly, plus practical settings that work for most real-world cases. At the end, you will find a privacy-friendly tool you can use instantly: Pageonaut Image Compressor (runs locally in your browser, no uploads).
Why image compression matters
Smaller images improve:
- Page speed (faster loading = better user experience and SEO)
- Core Web Vitals (reduced LCP and bandwidth usage)
- Mobile performance (less data, faster rendering)
- Storage and delivery costs (especially at scale)
- Email deliverability (smaller attachments)
The fastest way to compress images (the 3-step method)
1) Resize first (do not upload 6000px photos to a 1200px layout)
Resizing is usually the biggest win. If an image will be displayed at about 1200px wide, exporting it at 4000-6000px wastes tons of bytes. A good rule of thumb:
- Web content: 1200-2400px wide (depending on your layout and retina needs)
- Thumbnails: 300-800px wide
- Full-width heroes: 1600-3000px wide (rarely more)
Downscaling reduces the number of pixels, which reduces file size dramatically, often more than quality changes alone.
2) Choose the right output format
Format choice can make or break file size. Here is the quick decision tree:
- Photos: Prefer WebP (best size/quality in most modern browsers), otherwise JPEG.
- Logos/UI with transparency: WebP (if supported) or PNG.
- Need transparency but want smaller than PNG: Use WebP.
If you are unsure, use an Auto mode that selects a good format based on the image (especially useful when some images have transparency and others do not).
3) Adjust quality (only when using lossy formats)
Quality applies mainly to JPEG and WebP. For most images:
- High: best visual quality, larger files
- Medium (recommended): great balance for web
- Low: smallest files, may show artifacts on detailed images
If you notice blockiness or banding, increase quality slightly. If the result looks identical, you can try lowering quality a bit more and re-check.
Best-practice settings that work for most websites
Recommended defaults
- Output format: Auto (recommended) or WebP
- Quality: Medium (balanced)
- Resize: On for large uploads (try 1600-2400px max)
- Do not enlarge: On (prevents accidental upscaling)
- Metadata: Off (smaller files, fewer privacy leaks)
For ecommerce and marketing images
- Output: WebP
- Quality: Medium to High (depending on product detail)
- Resize: Max 2000-2400px (product zoom needs vary)
For documentation, UI screenshots, and graphics
- If transparency is needed: PNG or WebP
- If no transparency: WebP (often smaller than PNG)
- Resize: Match your content width (avoid huge screenshots)
Common mistakes that keep images unnecessarily large
Uploading massive originals
A phone photo can be 12-48 MP (4000-8000px wide). If your site displays it at 1200px, that is a huge waste. Resize first.
Using PNG for photos
PNGs are great for crisp graphics and transparency, but photos usually compress far better as JPEG or WebP.
Keeping metadata when you do not need it
EXIF data (camera model, timestamps, sometimes location) increases size and can leak privacy. If you are publishing online, stripping metadata is usually best.
How to compress images in seconds with Pageonaut Image Compressor
If you want a fast, clean workflow with batch support, use Image Compressor on Pageonaut:
- Drop your images into the full-width upload area.
- Choose Output (Auto, WebP, JPEG, PNG).
- Click Compress and download results individually or with Download all.
Need more control? Open Compression settings to adjust quality, resizing limits, transparency handling, and metadata options.
Privacy note
The tool runs 100% client-side in your browser: your files stay on your device and are not uploaded.
Quick checklist for maximum savings
- Resize images to the maximum size you actually need (often 1600-2400px).
- Use WebP for most photos and general web images.
- Use PNG/WebP for transparency and crisp UI graphics.
- Start with Medium quality, then adjust only if needed.
- Strip metadata unless there is a clear reason to keep it.
Wrap-up
Image compression does not have to be complicated. In most cases, resizing plus WebP/JPEG plus a sensible quality setting gets you the biggest wins with minimal effort. If you want to do it instantly without uploads, try Pageonaut Image Compressor and compress your images locally in seconds.